Photo duplicates are painful because the files are personal and the wrong deletion can matter. A good workflow should show thumbnails, file paths, sizes, dates, and folders before anything gets removed.

Step 1: Pick the photo locations you actually use
Start with Pictures, Downloads, Desktop, camera import folders, external drives, phone backup folders, and NAS photo shares. Avoid scanning your entire system drive until you know where duplicates are likely to be.
Step 2: Filter for photo and image file types
Use include/exclude file types to focus on JPG, PNG, HEIC exports, screenshots, and edited copies. This keeps the scan focused and makes the results easier to review.
Step 3: Decide which folder wins
The safest rule is to keep the folder that matches your real library structure and delete copies from temporary folders like Downloads, Desktop, exports, old backups, and recovered-file dumps.
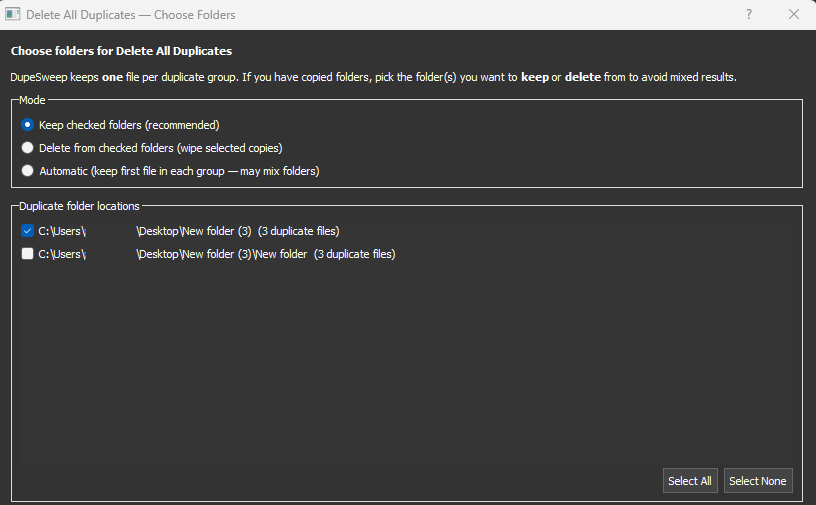
Step 4: Use bulk delete only after review
Free mode is fine for small cleanup jobs. Pro is built for large photo libraries where manual deletion would take forever. Bulk delete, Rescue Center, and export results are the time-savers here.
Privacy matters for photo cleanup
DupeSweep is designed for local cleanup. The desktop app does not need to upload your photos to a web service, and the cleanup workflow is built around reviewing files on your own machine.